

This is a really fun, simple project. Yet another way to fancy up some plain tees or a great fix for old shirts with holes.
It takes a little practice to master sewing a curved design like this one. I'm definitely not there yet but, I was pretty impressed with myself this time around. If you're unsure of your sewing skills try finding a design with straight lines i.e. a cross or monogram of your initial.
Materials:

Fabric
Fusible Interfacing (one side)
T-shirt(s)
Stencils (optional)
Tutorial:
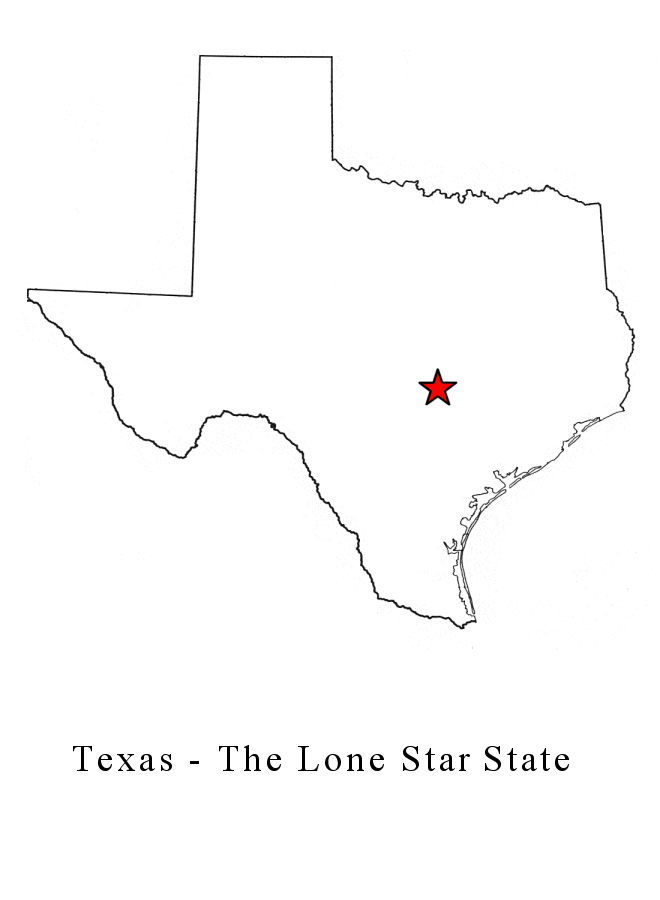
For this project, you can choose to draw your own design or use a stencil. I just googled Texas outline and found this:
 |
| Texas Outline Source |
Draw your design backwards onto the non-fusible side of a piece of interfacing.

Fuse the design onto the wrong side of your fabric.

Turn your tee inside out. Pin your design to the front layer of fabric.

Carefully sew over the marked line. Be sure that you're only sewing through the front layer of your tee.

Tie and cut off loose strings.

Cut off the extra material around your design.

Make a snip through the knit at the center of the design

and cut off all the extra fabric on the inside of your stitches.

I finished by marking an x over my hometown (because a heart was just too hard!)


Here's one I did using my own drawing:


And another:


(:
...
Wow, this is so cool! Love love love it. The possibilitiesare pretty much endless.
ReplyDeleteNaomi x
Soooooo Cute!!!
ReplyDeleteI'm trying it on tote bag too....
Thx for the great idea...
ur the BEST!!!
Awesome! I had this exact idea but I was going to make it much more difficult and try to cut the shape out first on the shirt then sew behind... Hello your way is much easier! Did you use a quilting foot?
ReplyDeleteThese are so pretty and creative! Do you have any suggestions for wovens that might unravel, or is that a totally different technique?
ReplyDeleteLove this idea and the texas is awesome! I want to try this! I'm from austin so my X will just be a bit lower. : )
ReplyDeleteNatalie
www.projectdowhatyoulove.wordpress.com
I love this! I am so gonna try this once I get some of that interfacing stuff! so cute!
ReplyDeletewow! great idea!
ReplyDeleteI have to try it:)
Very good idea, i love it!!!
ReplyDeleteI save it for later, i'm sure i can use this with an old tshirt, to give a second life!
great tutorial! looks like fun!
ReplyDeleteThanks for sharing this! I had a reverse applique project in mind but wasn't sure how to finish off the edges of the top fabric. Using jersey is a solution, but is there a way to do reverse applique with other fabrics? (I had a pillow in mind and don't know if jersey is the right choice...)
ReplyDeletewow! you are good!!! this is way easier. this i can do. thanx!
ReplyDeleteGreat tutorial, I'm definelly gonna try it. Thanks!
ReplyDeleteThis is SO cool! I love your tutorials so much :) I have so many of those little fabric squares and scraps from sewing projects...what a great idea!!
ReplyDeleteI love this idea, so cute!!!
ReplyDeleteadorable! you have such good ideas :)
ReplyDeleteThose shirts are too cute! I love the Texas and sail boat shirts.
ReplyDeleteReverse applique is really fun.
Fun idea, can't wait to try this tutorial on my kids' stained shirts ;).
ReplyDeleteawesome!! girl you are rocking it! love your blog!
ReplyDeleteSo neat! Adding this to things I need/want to try from your blog, including your last two recipe posts! Love love love your blog :)
ReplyDeletethis. is. awesome. thanks so much for the tutorial!
ReplyDeleteI love this! I think I may make some throw pillows with the hometown states of me and my boyfriend! What type of thread did you use to mark it with an X???
ReplyDeleteAlso - I really love your tutorials, it's nice to see someone my age and without kids blogging about crafty things!
Katy, you are awesome. You take something so simple and make it your own. I've done reverse applique on pillows before, but your shirt examples are great.
ReplyDeleteNow that is a cute idea! I love it!
ReplyDeleterachelsayumi.blogspot.com
Where do you get your t-shirts? This one and the white one from the skirt how-to look really cute and I can't seem to find any. Thanks!
ReplyDeleteThis is so cute. You are very creative! What stitch settings do you use? You're dealing with a knit and a woven, and the stitches look pretty short.
ReplyDeleteSo cute! I'm going to do this on a tee I made for my 2 year old! The last comment got me thinking - do you have a post on what machine you use or what your sewing area looks like? I love to see that kind of stuff! Great blog! Makes me wish I did more of this during my college days!
ReplyDeleteThanks everyone!
ReplyDeleteI used a straight stitch set at about 1.5 mm. No special quilting foot. Just my everyday presser foot.
Meagan,
Thanks for the idea. I may just have to blog about my little sewing space later this week! There's a little info about my machine in my about me section. I'll give some more detailed info in the post though (:
Such a great idea and wonderful tutorial. I just used it last night to make both my daughters shirts. My 2 year old girl loves trains and it is hard to find girl train shirts so I did a train one for her and my 5 year old loves mermaids but not "the" little mermaid so I did a mermaid for her. Thanks for sharing your ideas with us, you made 2 little girls very happy!
ReplyDeletewhat a fun idea! I love the Texas shape *wink* I live outside of Austin
ReplyDeleteWow this is so cool! Great to turn a plain top into something unique! Might try and make one soon! Thanks for the tutorial.
ReplyDeleteBecky :)
Eu Amei essa idéia,obrigada Anjo! vou praticar um super beijo.
ReplyDeleteI liked the idea already when I saw it here and love it now when I have tried it by myself. Great inspiration!
ReplyDeleteI can see all kinds of uses for this technique. Thank you so much for sharing it with us!
ReplyDeleteWhat a cute idea. Amazing what we can learn from not only others but from those younger than us, if we have an open mind. I love it when I see younger people sewing. My granddaughters designs and makes some of her clothes. I will pass this idea on to my readers if you don't mind.
ReplyDeleteI loved this tutorial! I have it linked in an upcoming blog post that will be up tomorrow around noon. I can't wait to do this again. I have a feeling by the end of the summer all my tops will have this ;) I'm a Texan at heart but I'm from WI so idk if I could get away with a Texas one! Haha!
ReplyDeleteThank you SO much for this tutorial! I've been looking for one and this is so clear!
ReplyDeleteJessiekays - imake2.blogspot.com
I adore this project idea (and not just because you chose Texas). I need to get the supplies and try it out for myself. Once I do, would you mind if I blog about it at thedomesticatedprincess.blogspot.com and link back to your awesome instructions? Thank you for sharing!
ReplyDeleteThis is really neat!
ReplyDeleteHelen
Blue Eyed Beauty Blog
Thank you for this idea and the tutorial. It was really easy to follow.
ReplyDeleteI made it for my little nephew. He loved it!!!
http://to-does.blogspot.de/2012/10/ein-j-fur-meinen-kleinen-neffen.html
SUPER cute. I'm a beginner sewist, but you explain it in such a way, even I feel like I could take this on. Way to spice up some old tees. Thanks for sharing.
ReplyDeleteHey! Just wanted to thank you for this great tutorial. I've used it a couple of times already. I love finding a sewing project that a beginner like me can handle.
ReplyDeletehttp://growcreative.blogspot.com/