
*This tutorial was featured for National Sewing Month 2012 at FaveCraftsBlog!*

My love of yoga pants began way before I actually tried yoga. But now that I'm actually attempting some classes at the Rec, my obsession is only perpetuating. I know this might seem like an intimidating project but, it's honestly so much easier than most clothing projects. And did I mention they are the most comfortable thing I own? Seriously, I've been wearing these for at least some portion of the day since I made them. Luckily I got enough material to make another pair!
Wanna make some too?

*Note*
A serger is recommended but certainly not required for this project. The beauty of knit is that it won't fray like most other textiles.
Assume 1/4" seam allowances.
Materials:
A pair of well-fitting yoga pants (to copy a pattern from)
3/4 yd. Black Jersey Knit Fabric (it's the super stretchy kind)
1/2 yd. White Interlock Knit (It's the less stretchy, slightly thicker knit)
RIT Liquid Dye (Optional)
Tutorial:
Pre-wash your fabric! Don't skip this step unless you plan on always air-drying your pants.
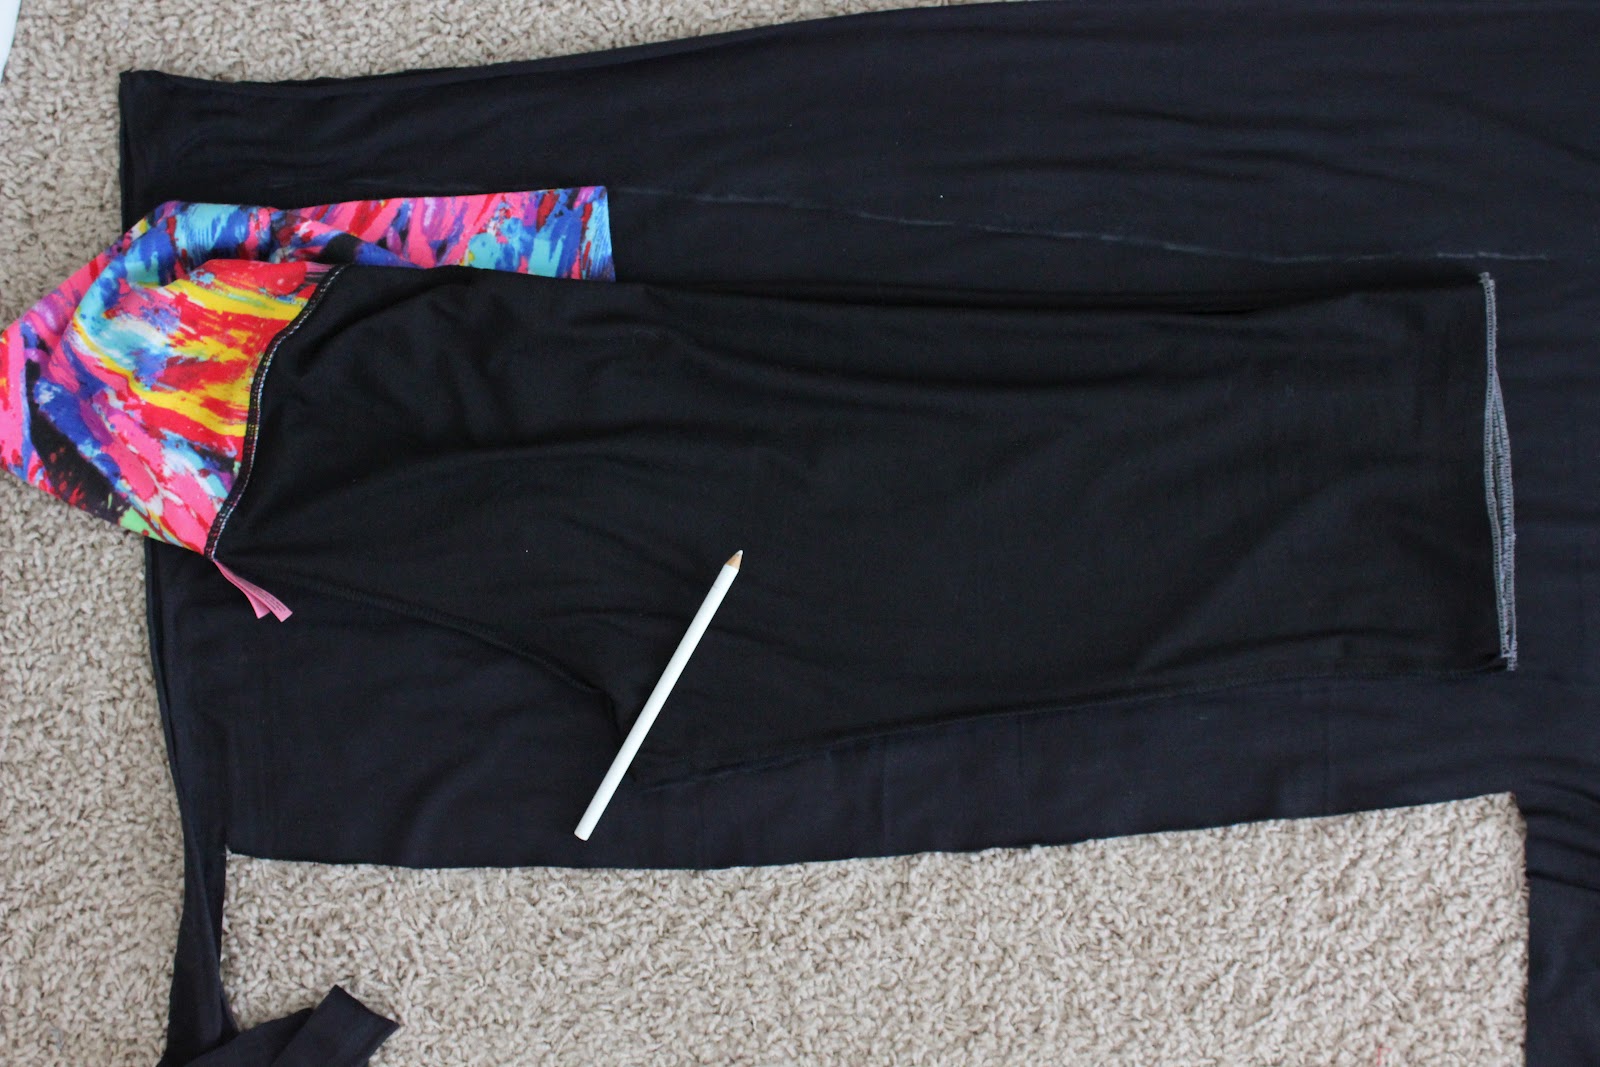
Pick out your favorite yoga pants to use as a guide in this tutorial. Try to choose a pair that has a comparable stretch to the material you are using.

Turn them inside out and find where all four seams of the pants come together.

Pinch here and down the inseam of the pants so that you isolate one pattern piece of the pants. I started with the front piece.

Fold your fabric black jersey fabric in half so that you are tracing the pattern over two layers. Now, you want to copy the pattern onto your fabric, extending out about 1/4" for seam allowances.

For whatever reason, the front pattern piece is always easier to trace. The back is a little bit trickier. Position the pants so that you see the curve of the back pattern.

Again trace the pattern onto your jersey fabric. In the picture below I extended my tracing a couple of inches out because the outer seam of the pants was wrapped underneath the fold. There's no way to get the back pattern piece to lay completely flat without deconstructing your pants, so you just have to do your best to compensate.

Now isolate the curve of the back pattern piece and continue tracing.
Cut out your pattern pieces. You should have 2 fronts and 2 backs.

Sew as shown below with right sides together:


Open your pattern pieces and now with right sides together, match up the seams you just sewed.

Pin all around the inseam of your pants.

Sew with a 1/4" seam allowance.

Pin and sew the outseam of your pants. Don't fret if one side is a little longer or shorter than the other, that comes with the territory of making your own pattern.

Waistband
To determine the length of your waistband, you'll need to do a quick measurement of the opening of your newly constructed pants. Divide that number in half and add 2 inches.
i.e.: The opening of my pants measured 35" so the length of the rectangles for my waistband were 19.5".
I used a height of 15 inches, but I think next time I would go with 17-18" for a little longer waistband.
Cut two rectangle from white fabric to these dimensions i.e., Mine were 19.5" x 15".
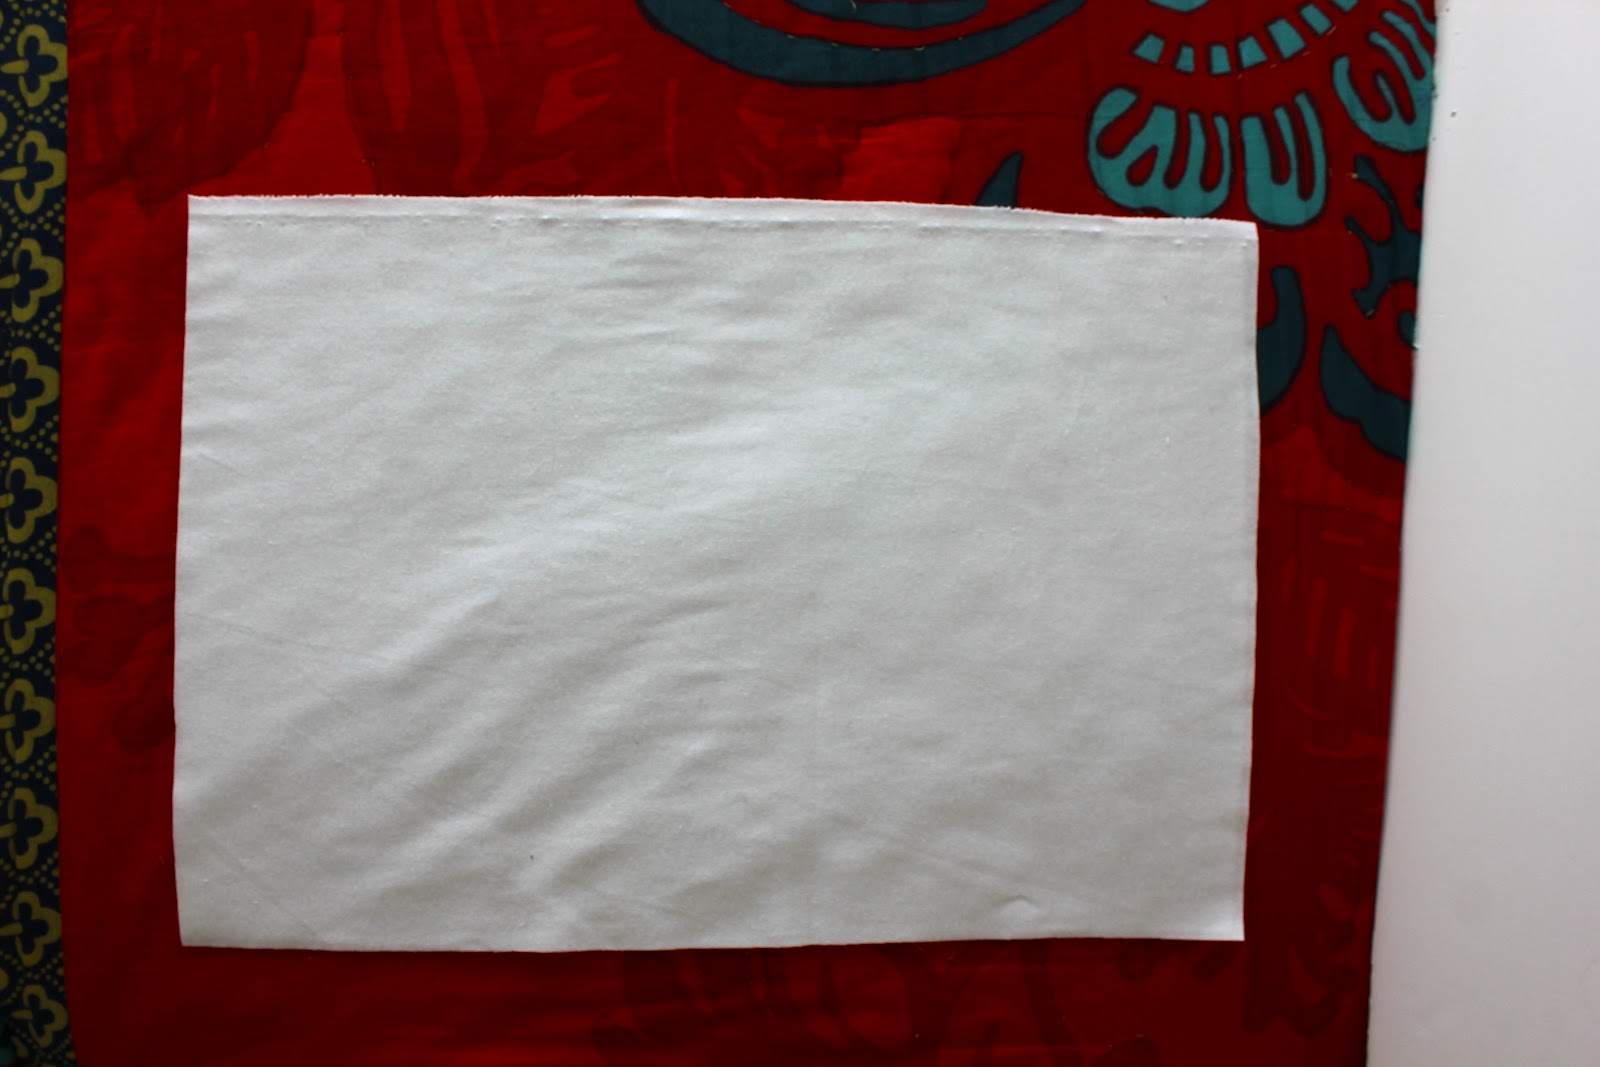
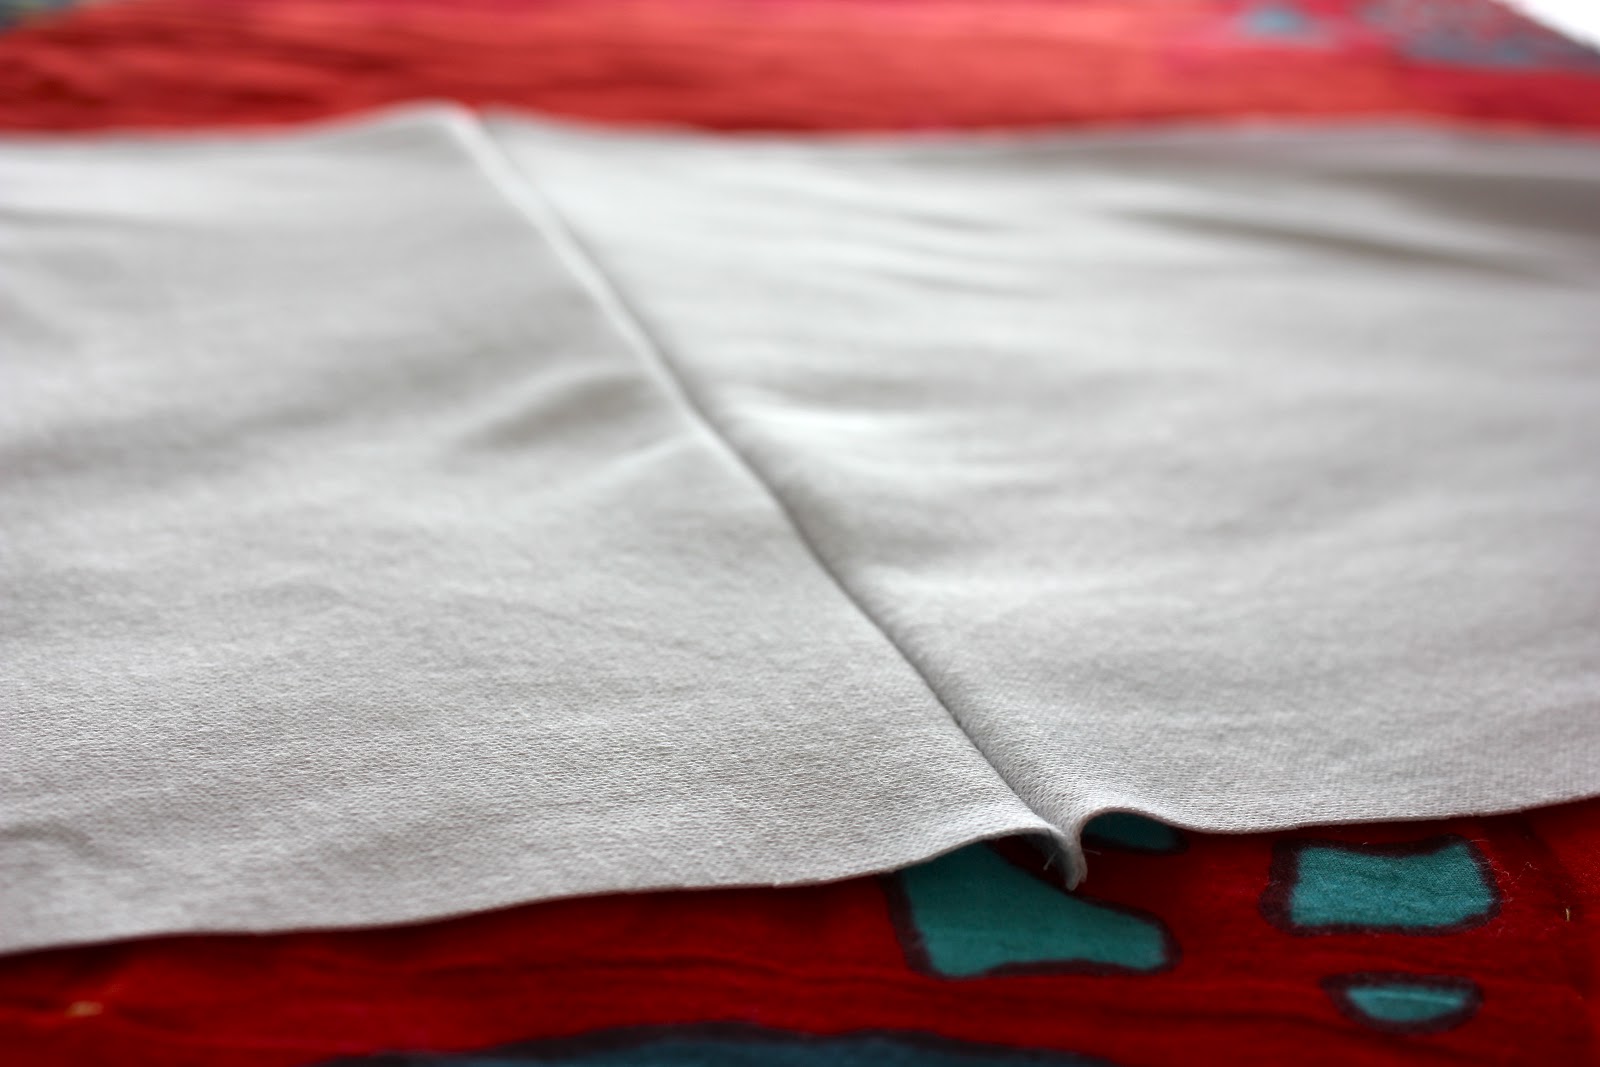
With right sides together, sew one of the 15" sides together so that you have one long rectangle.
I decided to add a little fun to my yoga pants and tie dyed my waistband. If that's not your thing, then skip the next few steps.
Fold your rectangle in half (hamburger style). Pick an area that you'd like the "bulls-eye" of your design to be. Pinch both layers of fabric and pick up the waistband like a handkerchief.


Twist and rubber-band in place.

Prepare your dye solution. I used a 1/3 of a bottle of RIT's liquid Teal dye with about two quarts of hot water.
Submerge the waistband for about 5 minutes, or longer for a deeper hue.

Rinse in the sink until the water runs clear. Allow to dry for at least half an hour and then unband your fabric.
Lay flat to dry.

Once the fabric is dry, you can sew the other end together. You want the finished waistband to be exactlty the same circumference as your pants opening, so measure and sew accordingly.

Fold over the waistband like so:

Now you're going to insert the waistband into the pants to be sew together. Turn the pants inside out and insert the waistband so that the raw edges meet the opening of the pants.

Pin in place all around.


Sew.

Finish by hemming or serging the legs of the pants.

And done! Ahh new, comfy yoga pants.


Rainy days make for some awkward finished product pictures. These were taken in the safety of a covered staircase. But yoga pants are perfect for lazy, rainy days.


Enjoy! Let me know if you have any questions!
...

280 comments
«Oldest ‹Older 601 – 280 of 280Post a Comment